Installing some type of analytics onto your website is a crucial step if you want to know whether anyone at all is visiting your site, and whether they are interesting in what you have put on it.
There are those who do not put analytics on their site. If you are not selling anything, and you don’t really care who visits your site, you really don’t have to bother. But for anyone who has developed their website for the purposes of engagement of some sort, it is nice to know if your website is working, where it is working, how successful it is in engaging visitors, and what needs improvement.
Why Google Analytics?
There are several analytics packages that track various aspects of a visitor’s experience on your website. Google analytics is free, while most others do charge a fee. As you grow and obtain a better understanding of what types of data is important to you, you will likely want to explore alternative tracking methods as well as google analytics. In the short run, however, google analytics will likely be sufficient.
Now, it is true, that nothing is truly free. By signing up “for free” with Google Analytics, you agree to share your website visitor data with them. You can choose to limit how much data you share, but the bottom line is, the more data you share with them.. the more data they share with you.
The Process:
Step 1: Sign up for a Google analytics account.
Step 2: Install the Tracking code google provides you with onto your website.
We will first discuss some alternatives with regards to Step 2, and then we will walk you through the entire set-up process from start to finish.
Alternatives for Installing the Google Analytics Code onto Your Website
Option #1: You can copy the tracking code and place it on your website yourself. If you are comfortable with working with your website, this should not be a problem. However, if you are not comfortable working with websites, this can be a very confusing and stressful process. You basically have to copy the code and paste it on every single page you want to track, or, you edit your website’s theme itself and paste the code in the header section of that theme. Some themes have easy places you can paste your analytics code into, so you don’t have to go in and edit the theme itself. Most paid themes have this option, so check your Theme’s description to see if that option is available.
Option #2: Install a plug-in that connects directly with your Google analytics account and performs that function for you.
In terms of speed and reliability, pasting the code into your theme itself is generally the best way to go. However, this can be a very confusing step for beginners, and loading a simple plug-in is often a much better way to go.
Recommended Plug-ins
There are several analytics plug-ins we recommend, for various reasons.
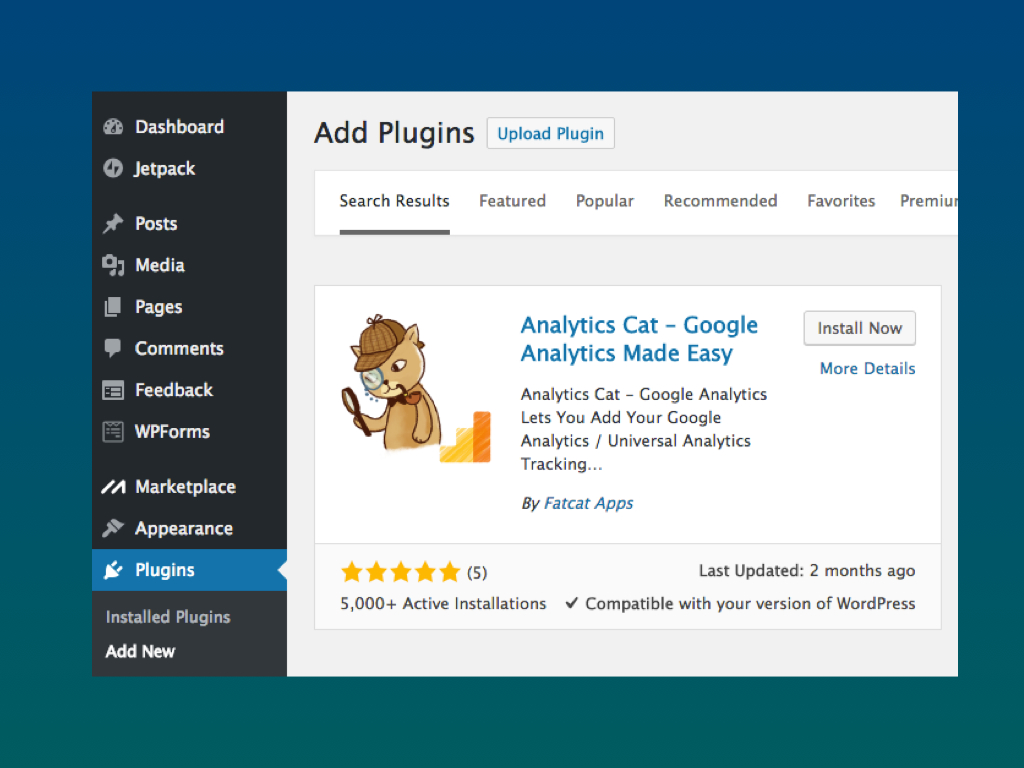
Analytics Cat
If all you want to do is install the tracking code onto your website without having to edit the WordPress theme itself, Analytics Cat is the way to go. This is a very simple, lightweight plug-in that will get google analytics onto your site. You can then access all of your data by going directly to the google analytics dashboard.
GADWP by ExactMetrics
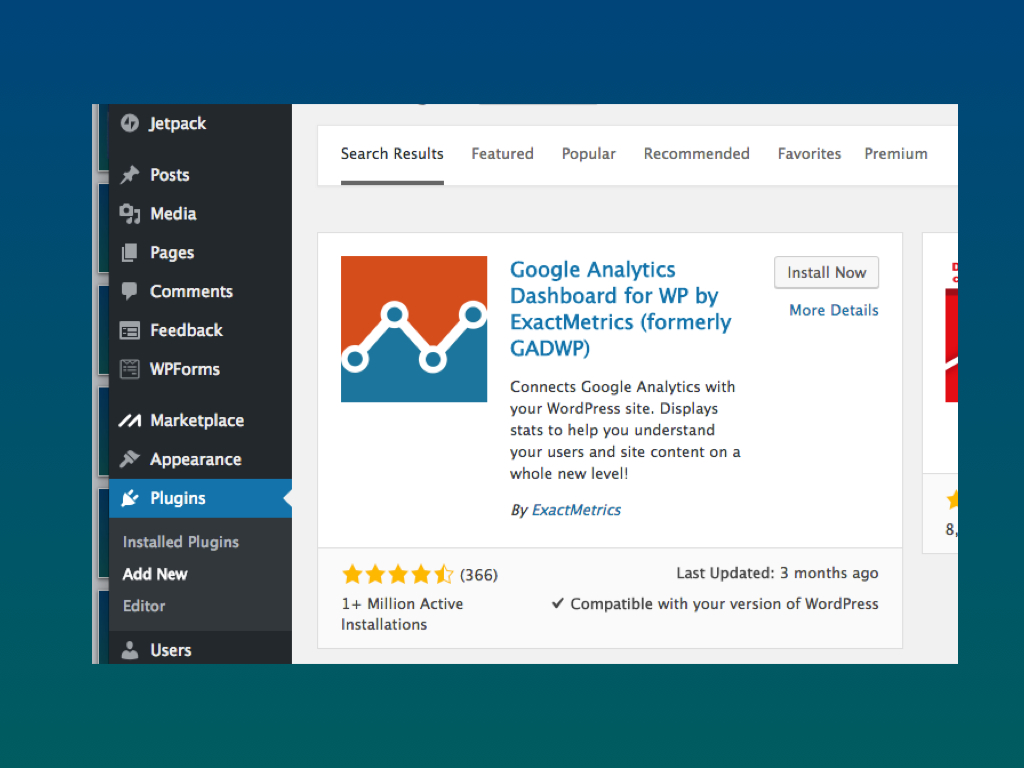
This is a very popular plug-in with over 1 million installs. With this plug-in, you are also able to see much of your data from your wordpress dashboard itself, meaning you do not have to go over to google analytics to access your reports. While this plug-in is a little bulkier than analytics cat, you get quite a bit of functionality for free, and this can be a great option - especially for beginners that find this whole process a bit overwhelming.
Monster Insights
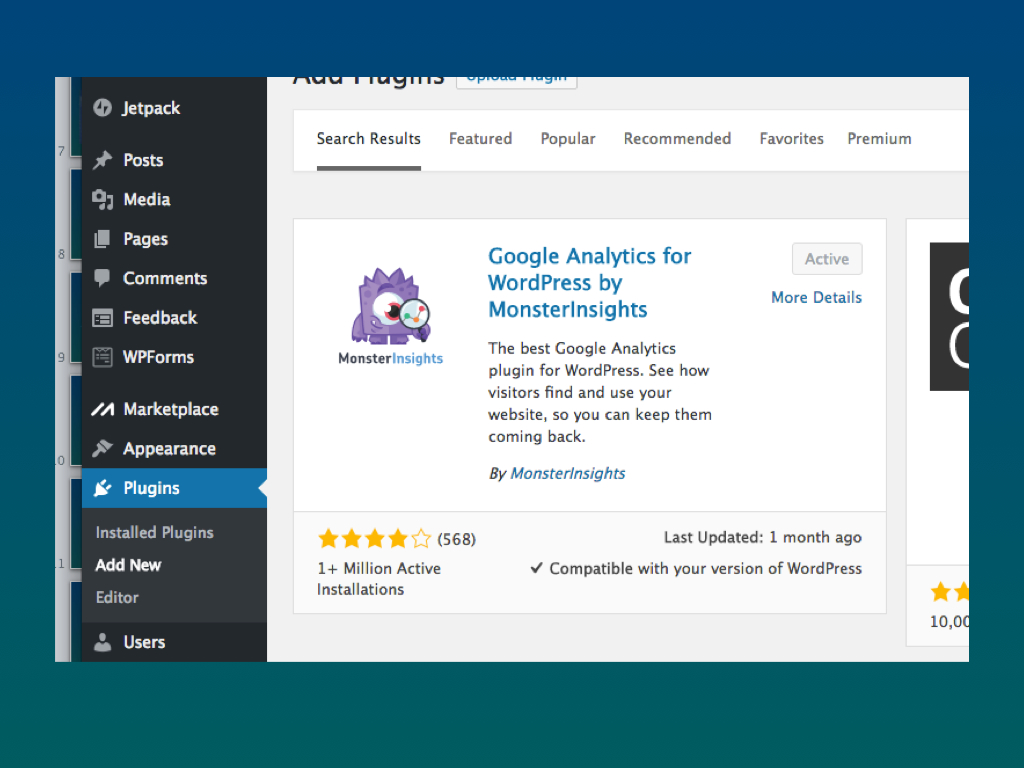
Often, the monster Insights plug-in will already be installed on your wordpress website, all you have to do is activate it and connect it to your google analytics account. This makes it the easiest plug-in to set up. The free version of this plug-in does everything that you will need as you are just getting started, including providing some very basic reports right on your website for you so you do not need to go over to google analytics dashboard to look at your data. If you choose this option, you may want to consider their pro version if you want more robust visitor reports. Test out the free version first and see if you like it, and then decide.
Installing Google Analytics – From Start to Finish
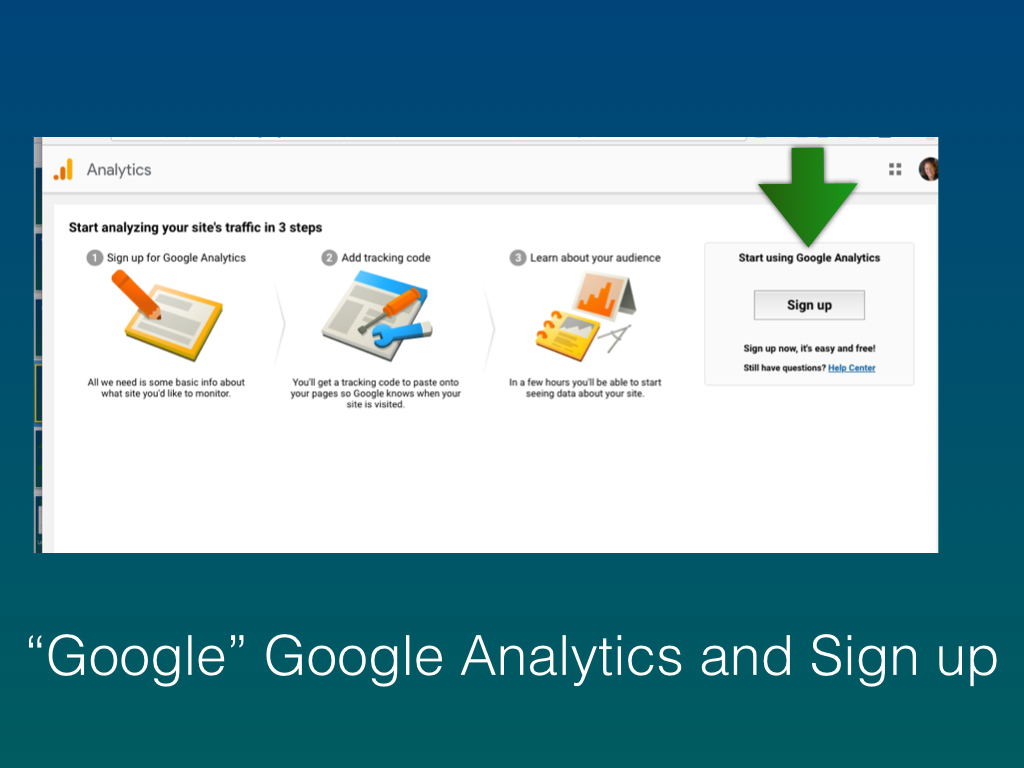
Step 1: Sign up for a Google Analytics Account
Do you have a google email? Do you have more than one? Maybe you have a business email account as well as a personal email account. You can use either, just remember which one you use. If the business email account is related to the website you are building, usually this is the best choice.
Access Google analytics through you email address. Once in the google analytics dashboard head on down to ADMIN.
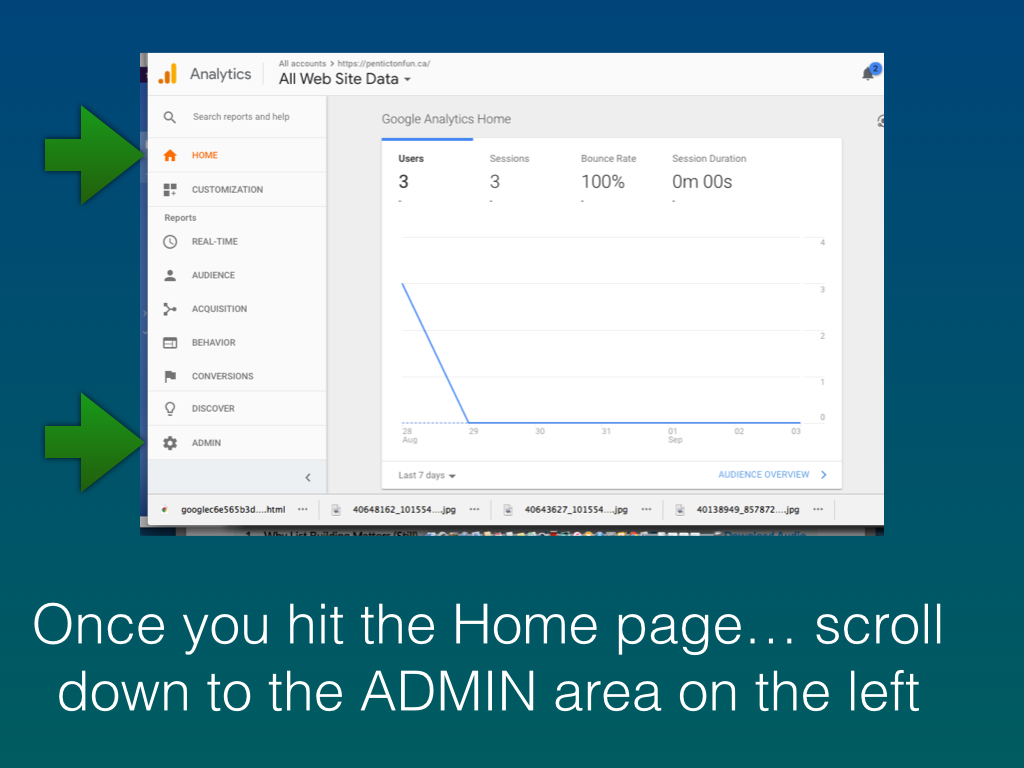
Once you are inside the program, click on the Admin option at the very bottom of the left hand menu. Click Create a New Account.
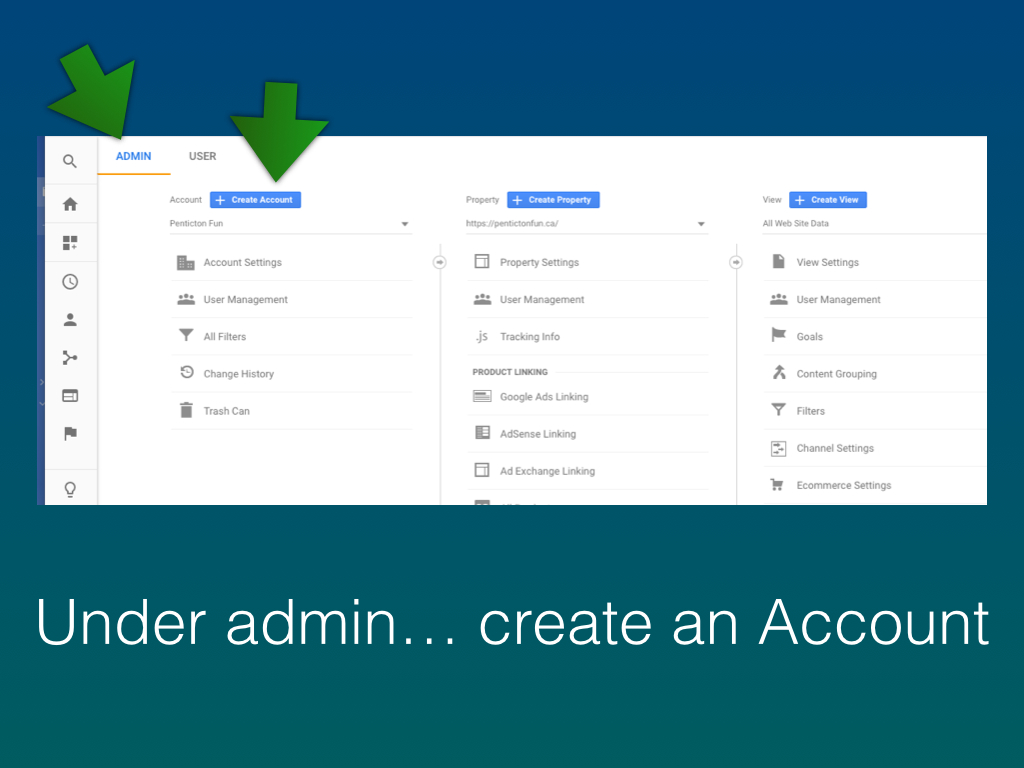
Once you are in the ADMIN area, click on create a new account. Each website should have its own account. Each account has its own access, which means that you can permit other people access to this account if you need some help with it, and yet you do not have to give them access to all of your accounts or websites that you have connected to google analytics. This just keeps things a little more protected and compartmentalized.
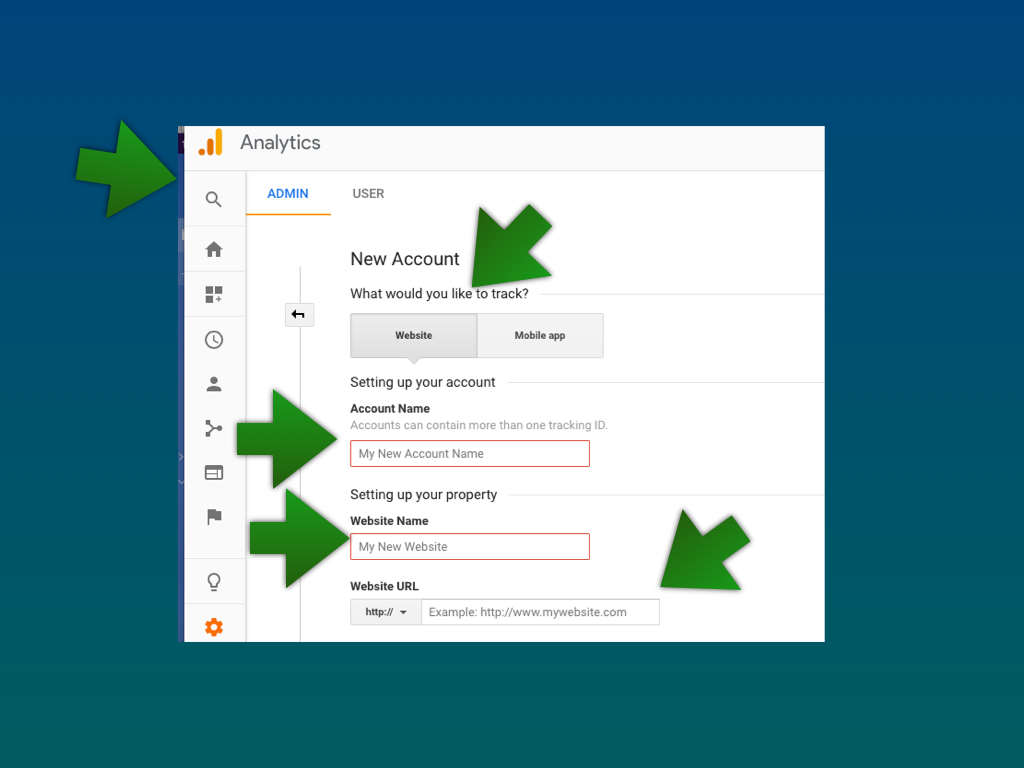
Fill in the details of your new website. You account name is something you will want to be able to recognize at a glance. It can be the same name as your website, or you can create a shorter "nickname" for your account. But just make sure you make it intuitive and recognizable. ALSO, make sure you are using https not http for your website URL.
Get the tracking code
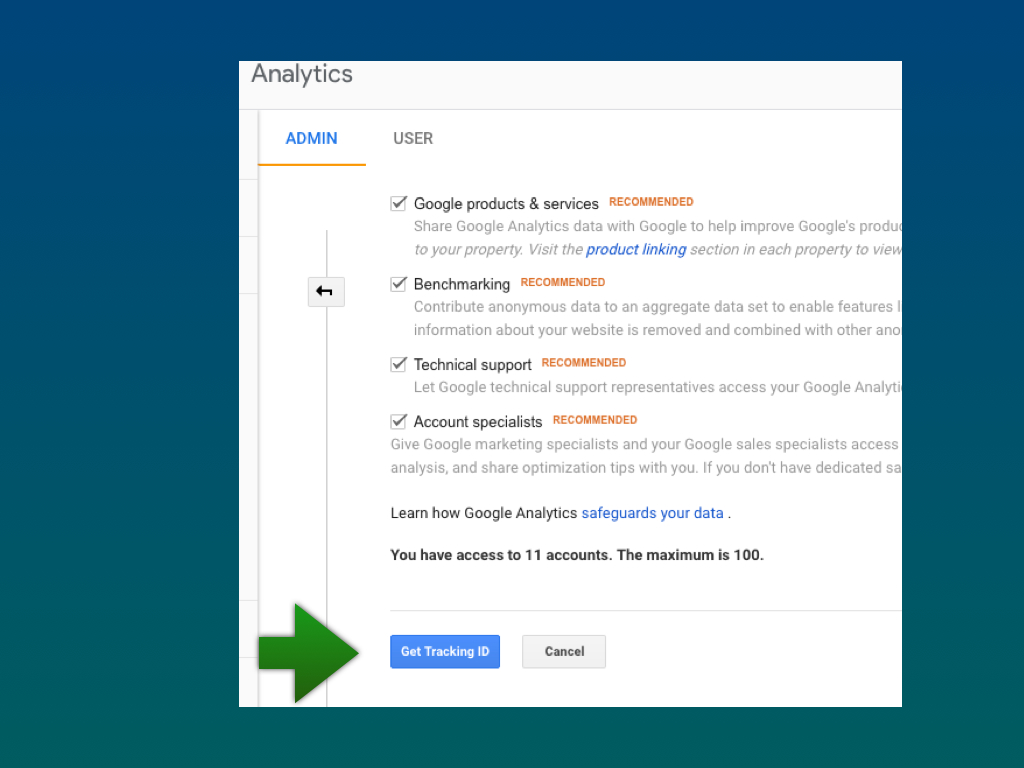
Click on Get Tracking ID. At this point you have to decide what you want to do... are you going to try to install it yourself? Or are you going to set up a plug-in? If you are going to install it yourself, you will copy the code and paste it onto your site. If you are going to use a plug-in, you can jump back over to your site now, as you have done all you need to do within google analytics.
Adding Google Analytics Through a Plug-in
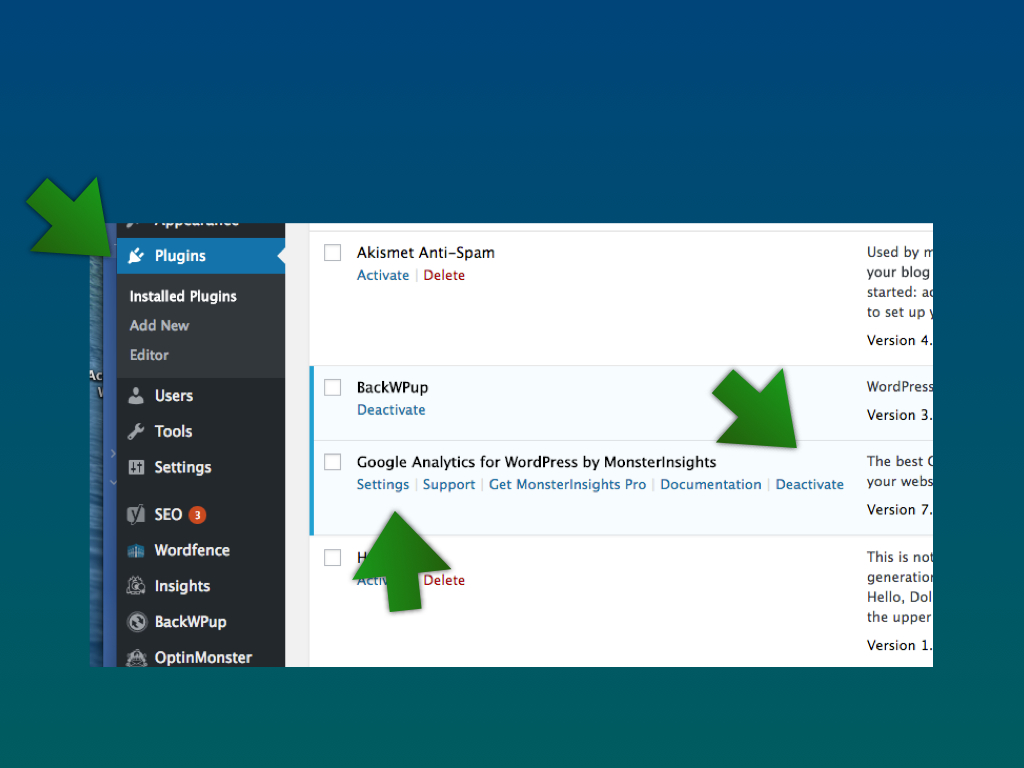
Given that Monster Insights is probably already installed on your website, we will use this as a simple example of how to add google analytics with a plug-in. Go into plugins on your wordpress dashboard, and make sure the plug-in is Active. Then click on Settings.
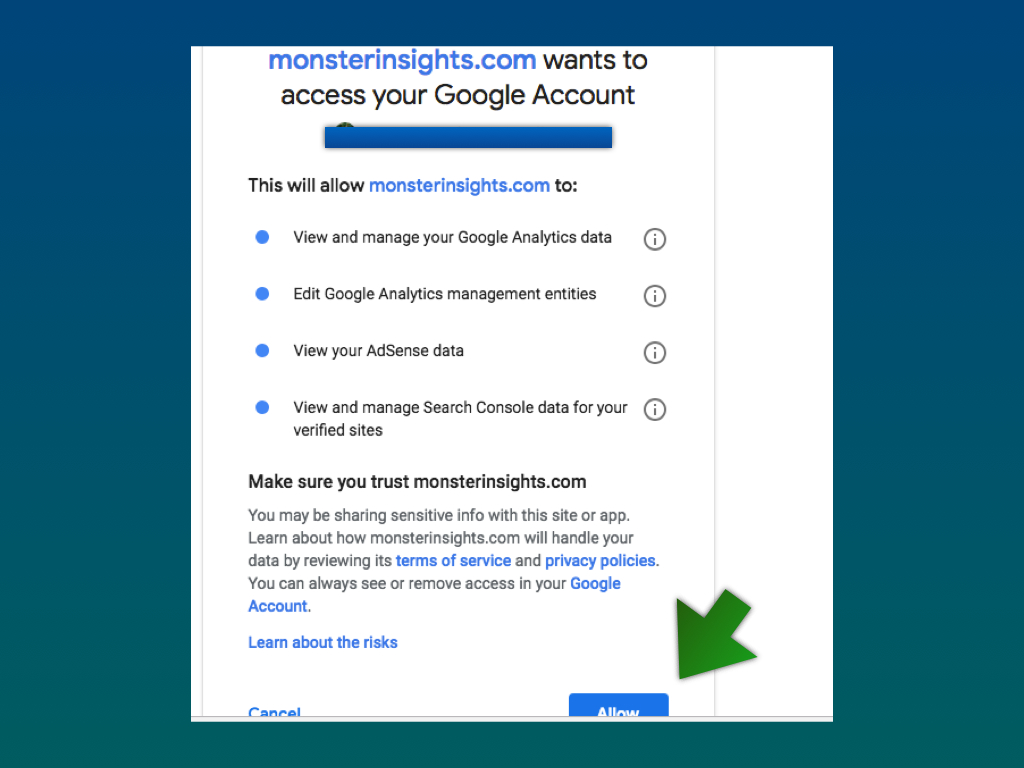
Once you are in settings, the plug-in will walk you through the connection process:
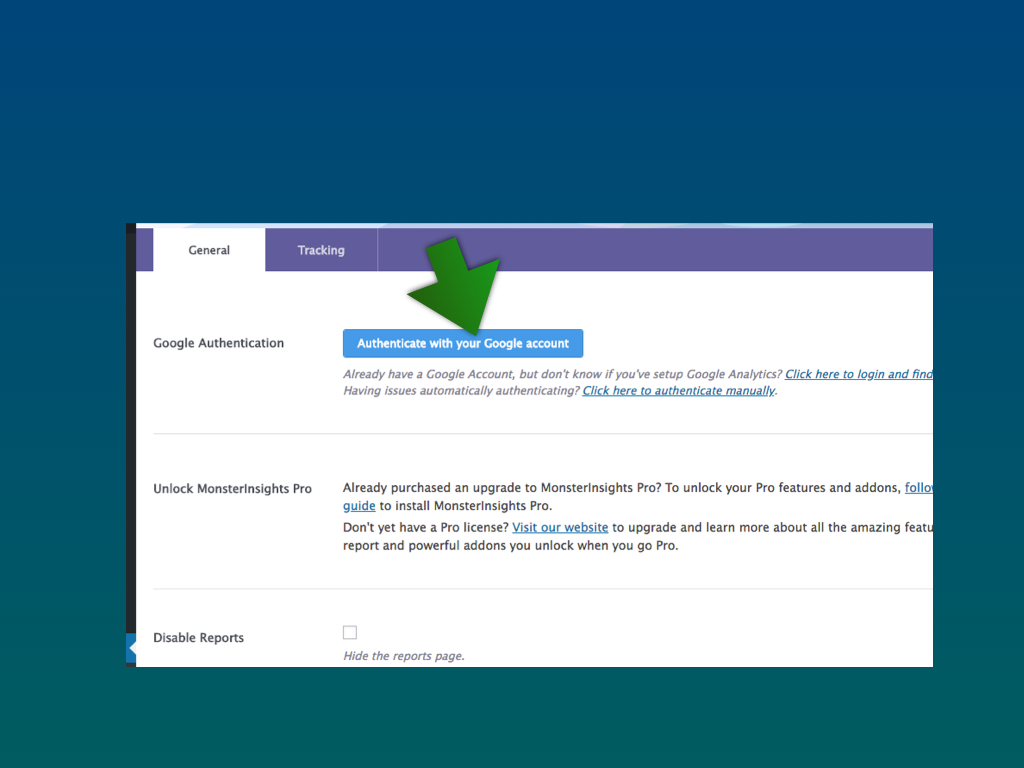
Your plug-in is going to want access to all of your website data for the account you just set up. When you do this, you will then be able to view reports on your actual website.
